Tips for Building a Badass Sandcastle From the 2016 Building Champs
Don't settle for some lumpy, lopsided sand-bucket structure.

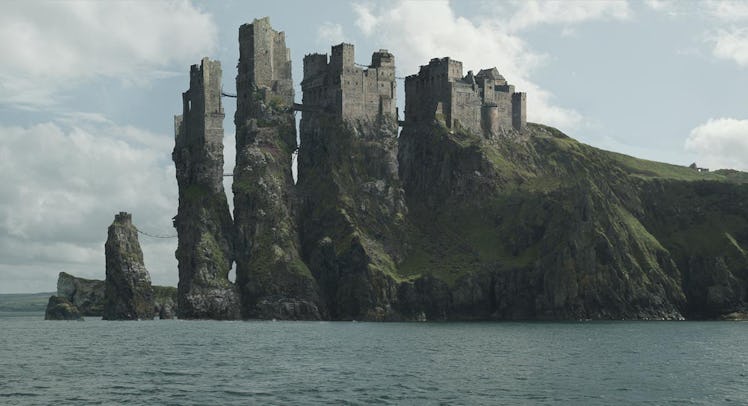
There are sand castles and then there are sand castles. The latter category refers to elaborate Game of Thrones-like sculptures that stand 10 feet tall, have needle-sharp, flag-tipped spires, a neurotic amount of detail, and — sometimes — a few Disney characters that call them home.
That’s the kind built by architects at the firm Kirksey + Mezger, the team that clinched the Golden Bucket award at the 2016 Sandcastle Building Contest aka the big kahuna of sand sculpting competitions. Unless you have the obsessive personality of an architect, six months to draft plans, and a 40-person team with specialized equipment, you’re not going to make that kind of sand castle. But with their advice, you can create a design far better than the lumpy, lopsided sand-bucket sculptures that dot the shores of family beaches.
“Our techniques can be scaled down,” says Andrew Tyler, an associate who is the firm’s Sand Castle Team Leader (that’s a real title). Using a few of Kirksey + Mezger’s basic techniques along with a few tools found in your kitchen and garage, you and the kids can build a castle with which every beachgoer will want to snap selfies and win vacation glory.
Plan Out the Design
You don’t need to plan a conceptual meeting and bust out the graph paper. But you don’t want to go to the beach without thinking through your castle’s design. Tyler suggests looking at pictures of other overachieving folks’ structures or asking your kids what characters they’d like to see come to life in sand form. Once you have a concept, he says to sketch it out, or even build a model using LEGOs or Play-Doh. Sand doesn’t permit fine details, so think in terms of large, simple features. Just remember: unless you’re hyper-motivated, constructing a castle taller than a couple of feet will be a serious achievement.
Set Up Shop at the Water Line
As long as an oncoming tide doesn’t threaten to wash away your work quickly, Tyler says to set up shop right at the water line. The firm sand there serves as a good foundation. Plus, being close to the water ups assembly line efficiency — you are, after all, going to need a surprising amount of H20, and such a location will lighten the burden of bucket-schlepping. “There’s also the thrill of what’s going to happen if a wave comes,” says Michael La Nasa, another associate at the same firm.
Use Forms For Good Form
The basic building technique is to pile up a good foundation of sand that you will later chip away at to form designs, the same way an ice sculptor might. The pros work with two-foot by two-foot forms, much the way one works with concrete, piling them up layer by layer. And, per the Kirksey + Mezger guys, forms are essential. You can find your own forms in the garage or hardware store in the guise of varying sizes of PVC pipes or 3-gallon buckets with the bottom cut off.
How to Build
Building the structure at which you’ll later chip away is as simple as you think: Put the form where you want it and stuff it with sand and water. “Use as much as sand as water,” Tyler says. “It’s a big soupy mess when you put it in there.” Once the sand-stuffed form is in place, Tyler says to leave it alone for 30 minutes before removing the form, using the care of a baker making a fragile layer cake. Sand very effectively drains water, so “What you’re left with is something akin to a light stone, and you can chisel it off like concrete.” Oh, and as you’re stuffing the bucket, be sure to remove seaweed or other detritus that can destroy the integrity of the sand.
Use the Proper Tools
Once you build a firm foundation, it’s time to chip and sculpt away. Because somewhere inside this blocky sand mass is your work of art. Use the following tools to put every other parent on the beach to shame.
Butter knife: “You have a rounded edge and a flat edge that’s good for making cuts,” Tyler says.
Pencil: Good for detail work.
Straw: Use to blow sand grains out of depressions so you don’t risk ruining anything with your fingers.
Feather duster: “These are great finishing tools at the last minute when the design is carved,” says Tyler. “It adds a layer of smoothness to the surface.”
Fork: Use to score lines.
Wire: Use to cut large chunks away in the manner of cutting clay.
Remember That No Structure Is Permanent
Whether or not Jimi Hendrix was a sand castle aficionado, he understood the architectural limitations of this endeavor when he sang about them. When gravity is cruel to your towers or rogue waves claim your foundation, laugh it off. “Your whole point is to not take it too seriously. If it fails, it fails,” Tyler says. “Figure out something to do with what’s left.” A pretty good microcosm for summer family beach trips, too.