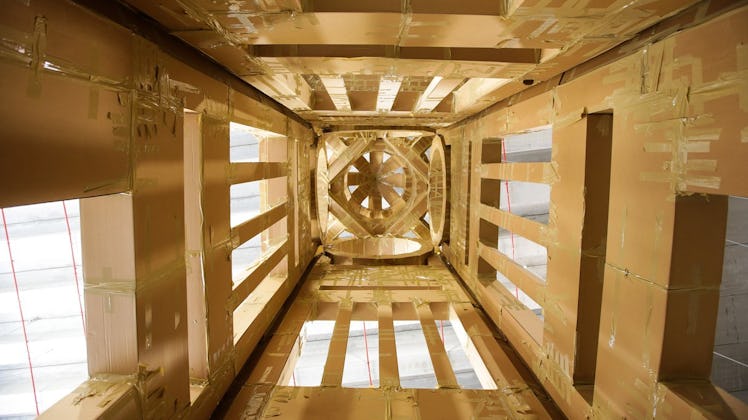
An Architect’s Tips For Building Cardboard Forts Even Your Kids Can’t Destroy
Prepare for the Boxer Rebellion.

The humble pillow fort — once upon a time that was the only rampart your kid needed to repel the teddy bear hordes. Now that they’re older, they still need their own fortifications to have some make-believe time, but it’s going to have to be more sophisticated.
Flickr / Nicholas Kimball
Drew Lang is a brilliant architect and the structural brains behind Hudson Woods, a community of modern homes that blend in with the environment. It also just happens to include this awesome tree house. He says that 2005’s entry into the National Toy Hall of Fame (that would be the cardboard box) is one of the best indoor, multipurpose construction materials. Here are some ideas on how to create a DIY cardboard fort that will render recycling day irrelevant and make something more stable than that MALM unit you’ve put together. (Topical!). Here’s how to start:
Drew Lang / Hudson Woods
Different Cardboard, Different Uses
All corrugated fiberboard isn’t created equal. There’s lot of box lingo that you don’t need to know, but different thicknesses can be used for different jobs. Thinner, single-ply (like the kind most IKEA flatpacked furniture comes in) can be a roof. While thicker, triple-ply (check your local bike shop) can be be scored and folded to make doors and windows without ripping. And if you find yourself with a surplus of styrofoam … tiny recording studio?
Start By Creating Stable Corners
If you just have your run-of-the-paper-mill cardboard box, unfold it flat and create a series of walls. But you’re not going to just haphazardly start putting edges together. Use the box’s natural creases at the flaps and folds to create corners. If you have mailing tubes, put those in each corner to create pillars. Now your frame has rigidity. But, Lang suggests not getting too hung up on making turrets and towers. You best bet is to keep the fort in a rectilinear shape. (See, you both just learned a word today.)
Create Joints For Extra Support
Don’t just put 2 walls together at a 90-degree angle and tape them together. Who taught you that? Instead, notch both pieces of cardboard with a box cutter and join the interlocking slats together. That creates a joint, which you can reinforce with some tape. “Double-stick is great. I use that all the time at home. So is duct tape. But masking tape, Elmer’s glue, and rubber cement isn’t going to do any good,” says Lang.
Paint Acts Like A Second Glue
The walls are a lovely shade of UPS brown, but if you toss a coat of paint on it, it can give your cardboard fort one more adhesive layer. Pay attention to what kind of paint you’re using, though. That non-toxic tempera is great for finger painting, but once it’s dry it will create a flakey mess on cardboard. Send them out of the room and use something acrylic-based that’s flexible enough not to crack. You can even make it a clear coat so you kid can still decorate it with crayon, markers, and the blood of their enemies.
AlphaMom
Bolster Your Walls From The Outside
Because you’re going to have small hands pushing from the inside you need something to put on the outside. There are 2 ways to prop it up:
- Place something heavy near the base of each wall. That could be the cushions from the destroyed pillow fort, some bean bags, or a family pet (provided they’re really, really lazy).
- Score the 4 bottom corners and fold it out. The result will look like you flipped a box upside down with the tabs out. Now it can resist wind, snow — but mostly excited 3-year-olds.
Materials Not To Use
You might be tempted to make something a little more durable using plywood. Lang cautions that anything that your kid plays in that’s not made of cushions or paper needs more than a slapdash approach. That means no lean-tos. “I would recommend not doing that, it’d be a hazard for your kid and plywood is dangerous,” says Lang. No, the next step in the fort-making involves ready-mix concrete, some joist brackets, and a brother-in-law.
This article was originally published on